The research team led by Hiroshima University engineers developed a 3D printing method that achieved stainless steel and aluminum bonds capable of withstanding separation stress of up to 17404.5 pounds per square inch on average.
A new 3D printing method shrunk brittle zones plaguing steel and aluminum’s juncture to a size of less than two microns, overcoming a fundamental barrier to fusions of these titans of the automotive, aerospace, and critical infrastructure sectors.
These two metals have been rivals for market share, especially in the auto industry. Steel is stronger and cheaper. But aluminum has a better strength-to-weight ratio. Combining them can deliver weight savings without sacrificing structural integrity — valued by automakers as it is a step toward slashing carbon emissions. Yet fusions of steel and aluminum remain unexplored due to the brittle intermetallic compound (IMC) formed where their contrasting metallurgical properties meet.
“The challenge in combining aluminum alloys with ferrous materials, like the stainless steel used in our study, is the formation of the extremely brittle intermetallic compound. To improve joint strength, a joining method must suppress IMC formation to an ultra-thin layer,” said research co-lead Motomichi Yamamoto, professor at Hiroshima University’s Graduate School of Advanced Science and Engineering.
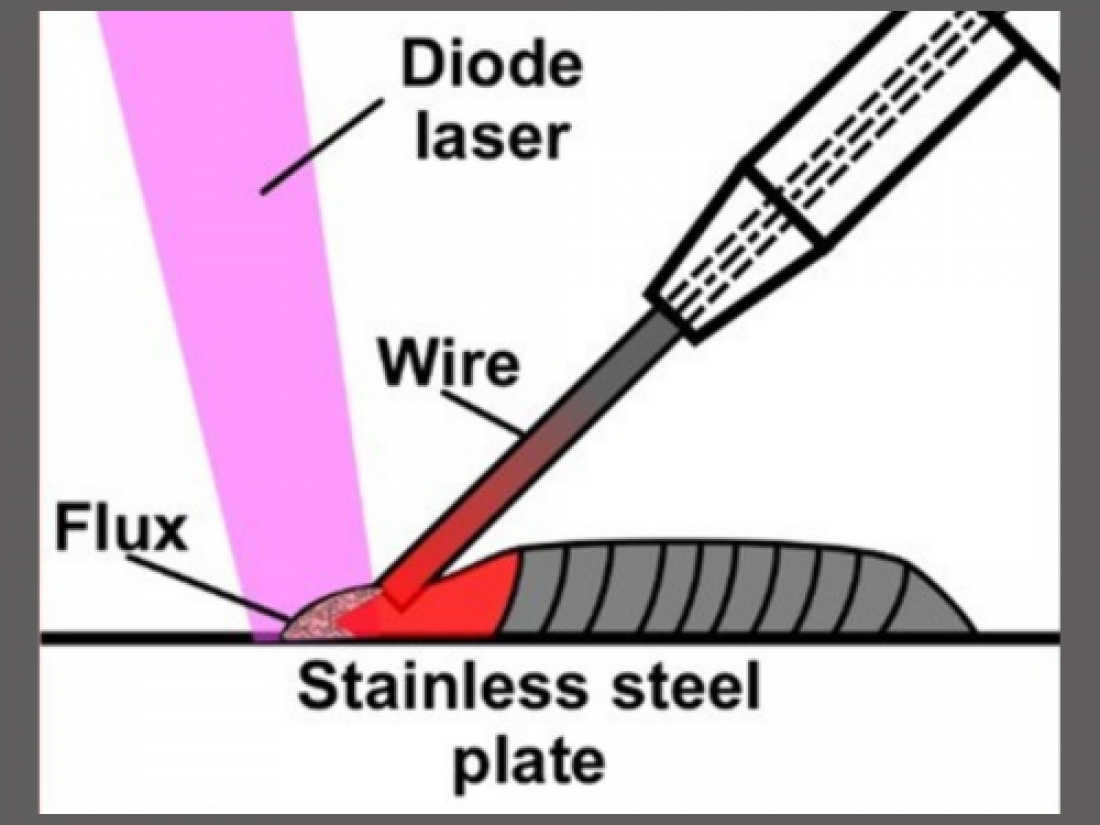
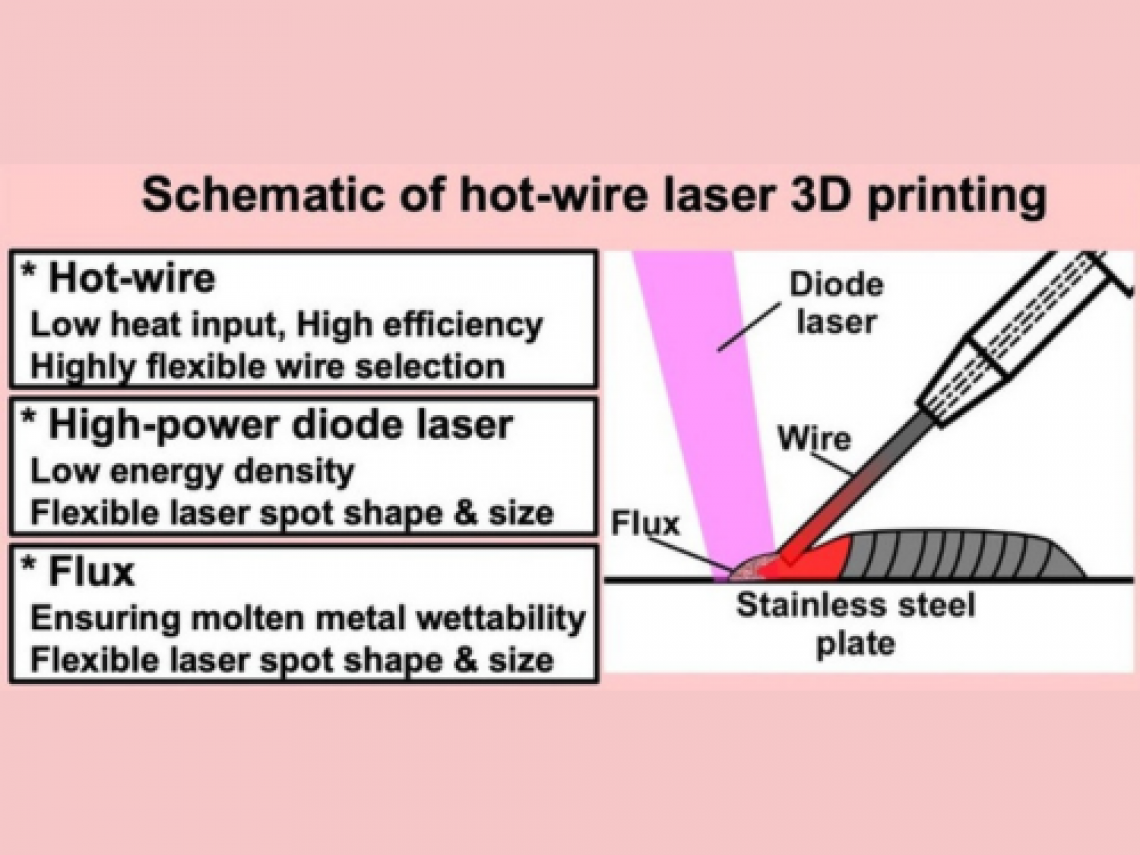
He and his co-researchers developed a 3D printing method that combined the hot wire technique, diode laser, and fluxes — which aids the proper spread and fusion of metals by preventing harmful oxidation — to control IMC thickness in the joint zones of stainless steel and aluminum (aluminum-magnesium) alloy.
They presented their findings at the 76th Annual Assembly of the International Institute of Welding and the International Conference on Welding and Joining held in July at the Marina Bay Sands Convention Centre in Singapore.
How it works
Via the hot wire method, the researchers heated the aluminum alloy close to its melting point before depositing it into the molten pool. This laser-irradiated pool is a localized area where the dissimilar metals merge.
To test two ways of flux application, they used different aluminum alloy wires: solid wire and flux-cored wire (FCW). In the first one, where chloride flux was coated on the 15-millimeter (mm) austenitic stainless steel base plate, the fluxless solid wire was used. In the second, they shifted to FCW as the flux source and left the base plate bare.
They assessed different laser spot sizes and process speeds to determine which combination performs best in activating flux, minimizing IMC formation, and achieving accurate and consistent prints. They got the stablest bead formation using a laser defocus distance of +15 mm. Anything over that led to excessive flux pre-melting and the clumping of aluminum blobs at the tip of the filler wire, disrupting bead formation.
They also found that low-speed modeling performed the best, diminishing IMCs down to 1-2 microns when the printing pace was set at one meter per minute (m/min).
Schematic of the hot wire laser 3D printing method
Next, they evaluated the laser power’s influence on bead appearance and IMC breadth. The team used a fixed processing speed of 1.5 m/min during these experiments. They found that laser power settings have no significant impact on IMC thickness but it is a factor in bead shape. A laser power of 4.7 kilowatt (kW) was too weak and led to defects at the center of the bead. Powering it up to 6 kW, however, turned out to be excessive, resulting in fumes and unstable bead shapes. Bead defects were resolved at the sweet spot of 5 kW and 5.5 kW.
The researchers found that laser spot size is a factor in activating flux coated on the stainless steel base. Meanwhile, they discovered that laser power determines the size of the molten pool in the FCW approach.
Testing the optimized calibrations
Based on their findings, the team applied the optimal combinations and fabricated one specimen per flux supply method to test for tensile strength. Both specimens were made up of nine aluminum layers with each stack having a height of 12 mm. The researchers used solid wire for the succeeding layers in both samples.
The optimized calibrations achieved stainless steel and aluminum bonds that withstood separation stress of up to 17404.5 pounds per square inch on average. Their IMC layers were also suppressed to less than two microns.
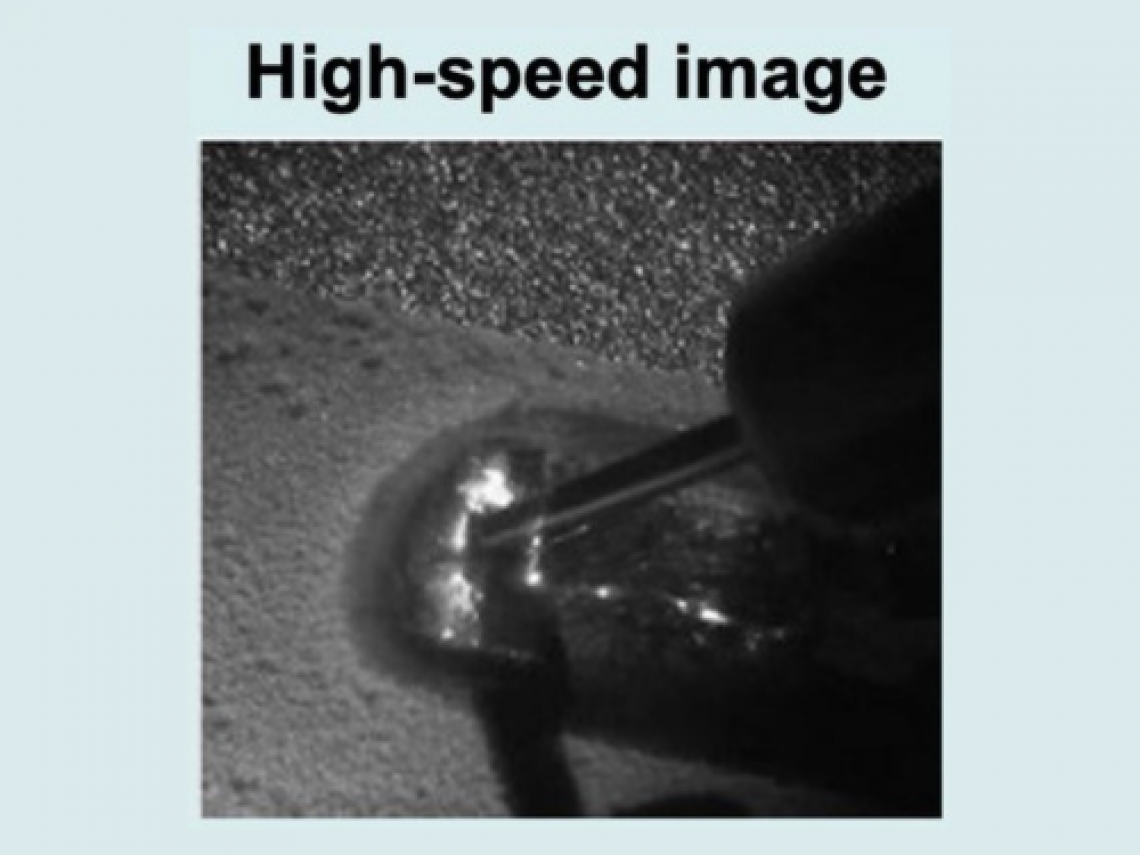
High-speed image showing the aluminum alloy and stainless steel 3D printing method
Observing the fractures sustained by the specimens under a scanning electron microscope, the researchers found what differentiated the strong bonds from weak ones. The samples that took the most force to break apart showed the presence of dimples, suggesting a ductile instability fracture. This happens in highly ductile materials which are more likely to deform than break when subjected to excessive strain. Once it cannot sustain further deformation, it fractures abruptly.
Meanwhile, those with the lowest strength exhibited particles. Analysis using energy-dispersive X-ray spectroscopy revealed the presence of oxides and flux elements such as potassium, fluorine, and carbon in the particles. This suggests that the weak bond is due to the entrapment of flux and other defects in the interface.
The researchers hope their method could help usher in a renaissance for designs combining aluminum and steel.
“We hope that this new process will help to create innovative product designs and revolutionary improvements in product performance by enabling high-strength direct joining of stainless steels and aluminum alloys,” Yamamoto said.
HU engineers collaborated with Mitsubishi Electric Corporation for this research.
###
About Hiroshima University
Since its foundation in 1949, Hiroshima University has striven to become one of the most prominent and comprehensive universities in Japan for the promotion and development of scholarship and education. Consisting of 12 schools for undergraduate level and 4 graduate schools, ranging from natural sciences to humanities and social sciences, the university has grown into one of the most distinguished comprehensive research universities in Japan. English website: https://www.hiroshima-u.ac.jp/en


